
As per my tradition, I make personalized cards for occasions like birthdays and certain holidays. When the right gift may be hard to come by, I can always at least make a meaningful and unique card. This time, the card involved a dog and a couple of blackberries.
The end result
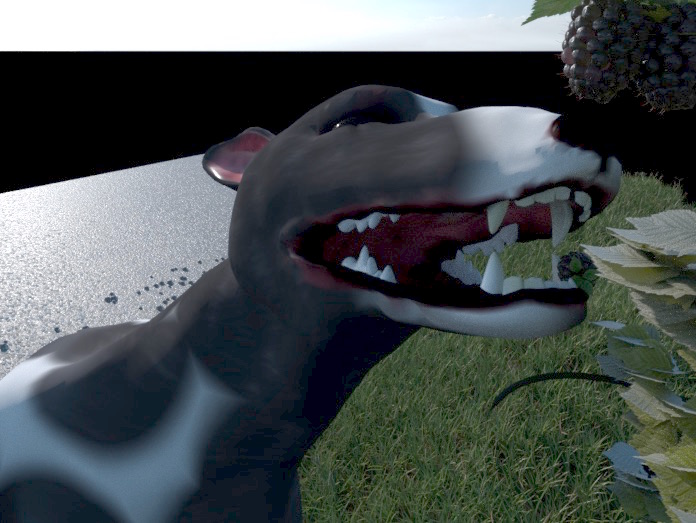
The final card sans text is pictured above with the following story to it:
Our family has a new pup in the house, a whippet named MacKenzie. Lately on walks, he’s been snagging blackberries straight from the bushes – and so far without eating any thorns! The final card was given with the text “Hope you had a berry great birthday!”
This is going to be more like a very high level breakdown than it is a tutorial. Hopefully it gives some insights on how I approach creating 3D renders. This is also by no means a golden piece of perfection. As such, I try to point out any improvements I would make given more time. So let’s dive in, shall we?
My goals
I’m not expecting myself to create the most realistic image in the world, but I want to push myself to learn more and to grow as an artist. With this in mind, I set these goals for myself:
- Make a render that is relatable and meaningful (story is key!)
- Do more modeling/sculpting since I’m not as experienced with it,
- Whatever sculpting I do should be good enough to not frighten people or inspire nightmares (gotta baseline your expectations!)
- Give it my best shot – don’t get stuck in analysis-paralysis, and don’t over worry about it not looking perfect
That last bullet in mind is important. I know it’s happened to me, and it happens to others as well: you really want to make something good, but as you start working it’s not turning out to your expectations. You’ve got to keep pushing forward. In this case, I am going in knowing that the whippet model is going to be the most difficult part to pull off. My contingency plan / cop-out is if all does not go well, I will put the model more in the background with a strong depth of field blur so it isn’t called into attention. I’m not saying this hesitative approach is a great way to make art in general (it’s not), but it at least helps ease my own nerves as I jump in.
The elements
Before starting, this is what I know I want to create ahead of time and is also how I plan my timing.
- Create a detailed (enough) Whippet head & mouth
- Make realistic (foreground) blackberries
- Create the rest of the blackberry bush itself (mix of foreground to mid)
- Setup enough of a surrounding environment (grassy ground on one side, pavement of the street off to one side)
- Outdoor, daytime lighting
So, let’s get to it!
Modeling the whippet head
While I’ve made a whippet model before, I previously shied away from creating any real detail in the mouth or head as it was originally for a far-off shot. Though I’m not confident enough to make a full, photo-realistic dog’s head, I decided to do the best I could to sculpt a head realistically using various references.


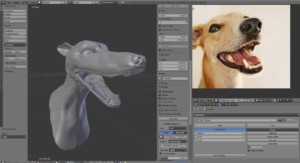 Starting the model based on a front and side reference image, I used blenders sculpting tool. I’m no anatomy expert, but I did lookup a number of references and even a whippet skull at one point to try and better shape the head. I’m also somewhat of a novice sculpter, and I find I am still more comfortable using multi-resolution meshes over dynotopo. With dynotopo, more vertices/geometry is created as you work and fine tune specific areas of the model. In contrast, multi-resolution will evenly add vertices/geometry across the entire mesh evenly. I prefer multi-resolution mostly so that I can keep the low-poly base mesh (for better and faster rigging), but also because forcing me to work at one multi-resolution level at a time keeps me focused on the big picture and structure first instead of diving into the details of a particular section.
When sculpting using multi-resolution, you start with a low-poly mesh and add layers of subdivision as you sculpt. The higher subdiv levels keep the details, while the original lower-poly base mesh is preserved. Here you can see the finished head when cycling between the different subdivision levels.
Ultimately, I am quite proud of the model I was able to pull together in this shorter period of time. But I still had my work cut out for me as it came to texturing and shading.
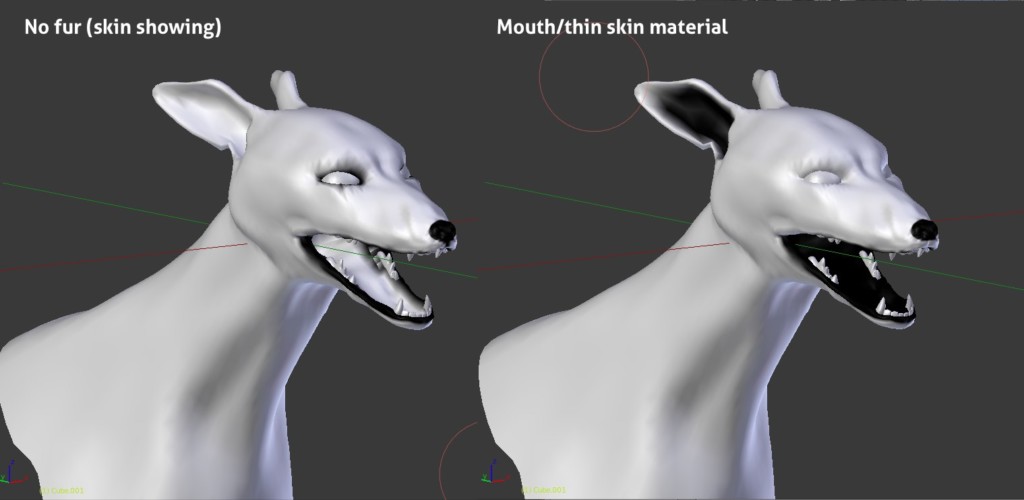
Two black & white vertex color maps were used to define different sub-materials of the model itself. On the left, the painted-black areas are for where the black skin material show: the lips and the nose. On the right, the more gummy mouth material and thin ears. Admittedly, the thin ears should be accounted for via the skin-fur shader itself through subsurface scattering, but I wanted to have some control to ensure the area was pinkish. These masks are used in two different mix nodes essentially combining these three materials:
- Skin (with fur)
- Skin (with no fur)
- Pink-colored skin/mouth.
The eyes themselves were a very simple shader. I made sure to place them in shadow to avoid attention as I was running out of time to make a more realistic pupil shader.
I then put several attempts into making and combing fur. I’ve tried doing this before without luck, and I still was unable to get what I wanted. Ultimately, I scrapped the idea and decided to paint in stokes for hairs via texture painting. I used a photoshop brush for hair to paint really rough strokes on the model. Emphasis on rough. At this point I knew the model would be mostly out of focus, so finely stroked hairs wouldn’t matter too much. Shader-wise, I think overlay the existing black and white skin I setup with this texture to give it some variance.
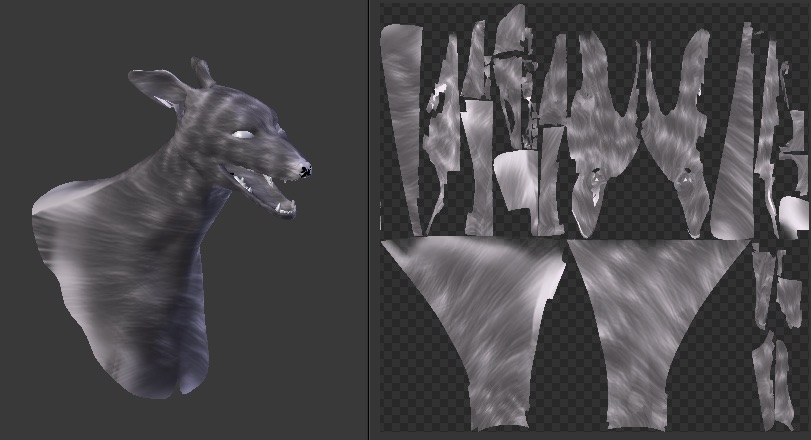
Left: hair texture layer, right: the UV 2D mapping of the painting
All of this surmounted to the following shot, without any depth of field or other compositing. This may not be award winning, but it is good enough for the render and goals set.
Making blackberries
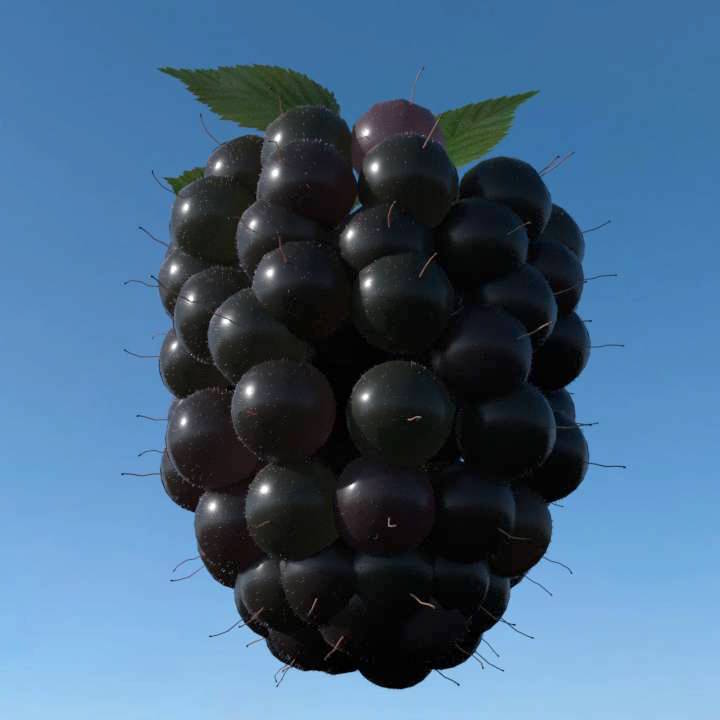
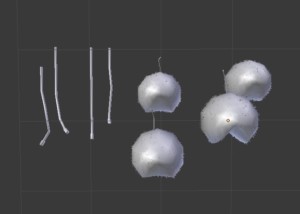 I have to admit to following this tutorial on raspberries somewhat to make my own version. The overall method is the same, but tweaked for the size and shape (and greater irregularities) of blackberries. Shaders of course also had to be modified. Essentially I create a few blackberry pods with tiny hairs. Then I create a few variations of stems . Finally, dupliverts place a pod at every vertex of a cylinder mesh. The pod material is given some color randomization to add variation to the blackberries overall. This results in the image below
Completing the scene
With these main elements out of the way, I just had to arrange the rest of the scene. The blackberry bush is primarily generated by growing ivy on top of a bush built out of mesh-converted meta-balls.
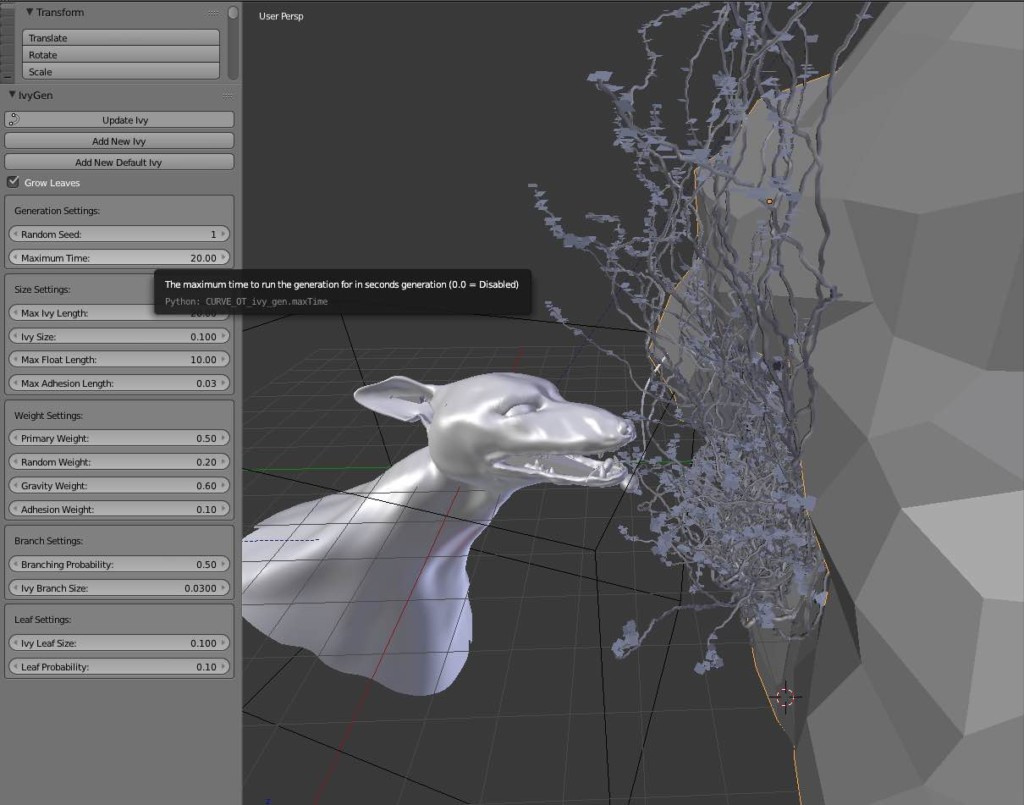
Using the ivy-generator addon
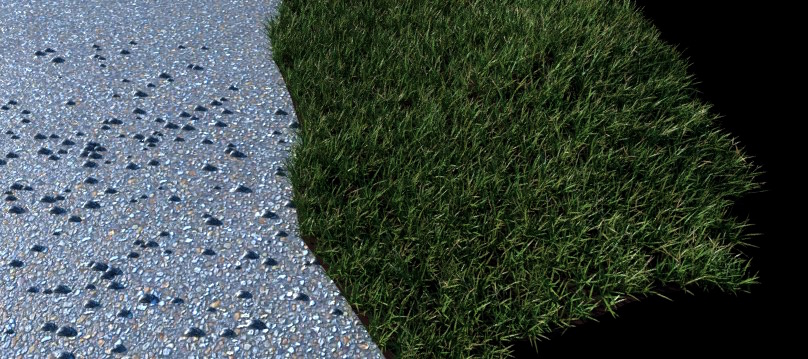
Next, I place some blackberries manually on vines, find the best placement for the camera, and adjust the leaves. Then I rotate the HDR lighting (using the Pro Lighting Skies addon I helped develop) to get the right look. The final touch was to add a basic street and road-side grass. For this, I used the Grass Essentials from Blenderguru and a simple pavement texture plus some quickly modeled pebbles. I also added some slight road subdivision and displacement and glossy roughness driven by a texture.
There you have it!
Check out the other cards in the gallery, or find a high quality version of this card on deviantart.