Live action and Stopmotion come together in these shorts
The Wand – latest release
The Counter
The Return
Behind the scenes
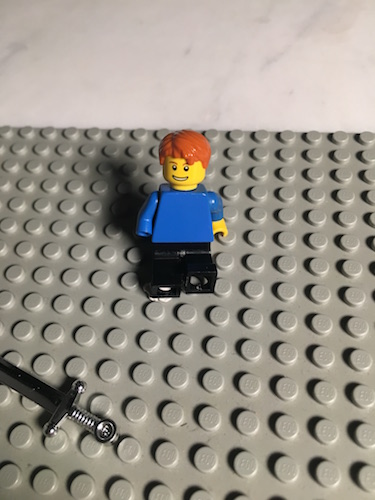
Stopmotion is an art where an animator painstakingly moves models bit by bit, taking a photos in each position to capture the sense of movement. But what if the subject model had a plan of its own? Below shows some snippets from behind the scenes for the videos in this series. It takes quite a bit of planning, animating, and editing to pull together stopmotion and realtime, live-action video like this. Maybe it wasn’t executed absolutely perfectly, but hey – it’s not bad, right?
Some quick stats
- Camera: Cannon 60D + logitech Pro 9000 (preview only)
- Frame rate: video & video both @ 23.976 frames per second
- Capture software: EOS Utility (iStopmotion or FrameyFrame for previews)
- Editing software: Blender 3D, After Effects, Photoshop, Premiere
Unless specified, the above applies to all entries to the Stop Meets Live series.
Watching stopmotion in action
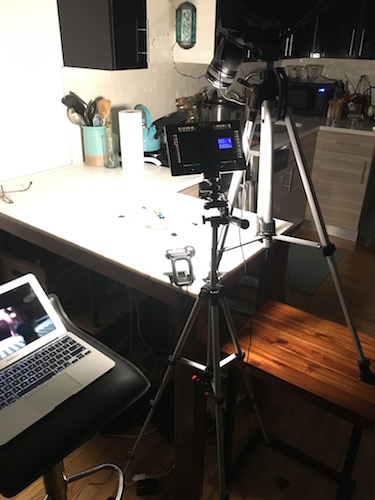
Take a look at the animation progression for a couple of the shots made for “The Wand” episode – and pardom my kitchen, I didn’t have a real stopmotion place setup for this episode! It goes to show, however, that you can make a space work with careful lighting and planning. In this case, I actually made use of the variable background to help break up the otherwise uniform black background. I did have to cover up some shiny appliances though.
Tracking, masking, and color-matching
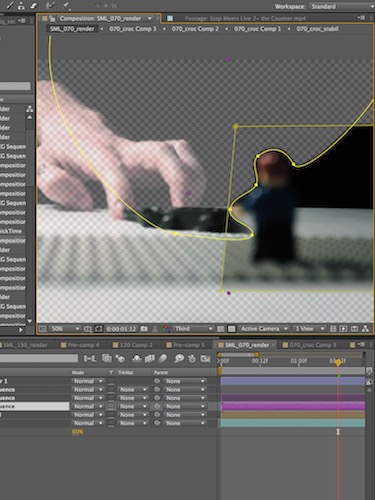
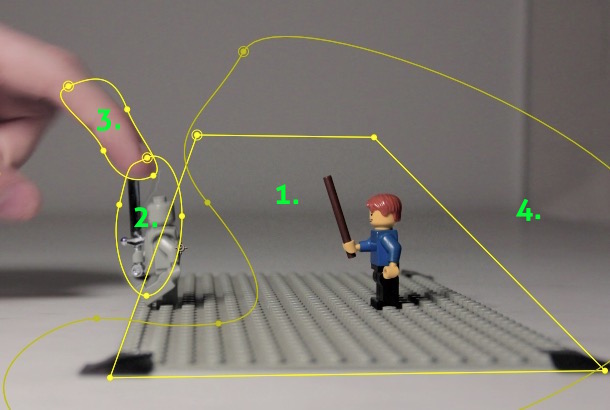
To combine stopmotion imagery with live-action video, bits and pieces of both mediums are melded together. Masks help a lot here, which are essentially animated shapes or areas defining what parts of a video/image sequence to show or hide. Feathering helps smooth out these edges. A single shot could have 10s of masks, each helping bring together one piece of the puzzle. Take this image for example (breakdown simplified):
-
- Background: The base for this shot is the live action hand, though the video isn’t always the base!
- Mask 1: This trapezoid area defines cuts out the main stopmotion animation for the shot
- Mask 2: The soldier walked outside our trapezoid cutout, oh no! This extra oval keeps him in the frame.
- Mask 3: This fine-tuning mask actually cuts more away from the stopmotion area, so as to show the finger on top
- Mask 4: This mask is a special case where the stopmotion animation had some more flicker than the source video. To get around this, parts of the stopmotion animation not moving were cut out using this mask to reveal a static image below to cut down on the noise. The entire sequence then has extra soft noise placed on top to help tie the layers together.
To top this whole process off, everything is motion-tracked and stabilized. Light de-flickering is processed if needed. Finally, fine tuning color correction plus a hint of procedural noise is added to pull everything together.
Motion planning
It’s always important to plan ahead. In these shorts, it’s especially critical to know in advance how the compositing will be done for a shot to combine elements, and also where the minifigure will start end, and where exactly it will interact with the hand if at all. One of the first things I really iron out is the shot tracker, which will define what shots and what actions will occur and from what angle. I also use this as I’m animating to gauge progress.
On top of these constraints, the motion must be natural! To plan this out, I would often record short videos like this where I test moving the minifigure into the different key positions in over an action. This helps be realize where the natural start/end positions are, which hand or foot to put forward first, and also make sure I’m not over complicating the motion or creating hard-to-animate positions.
The right tools
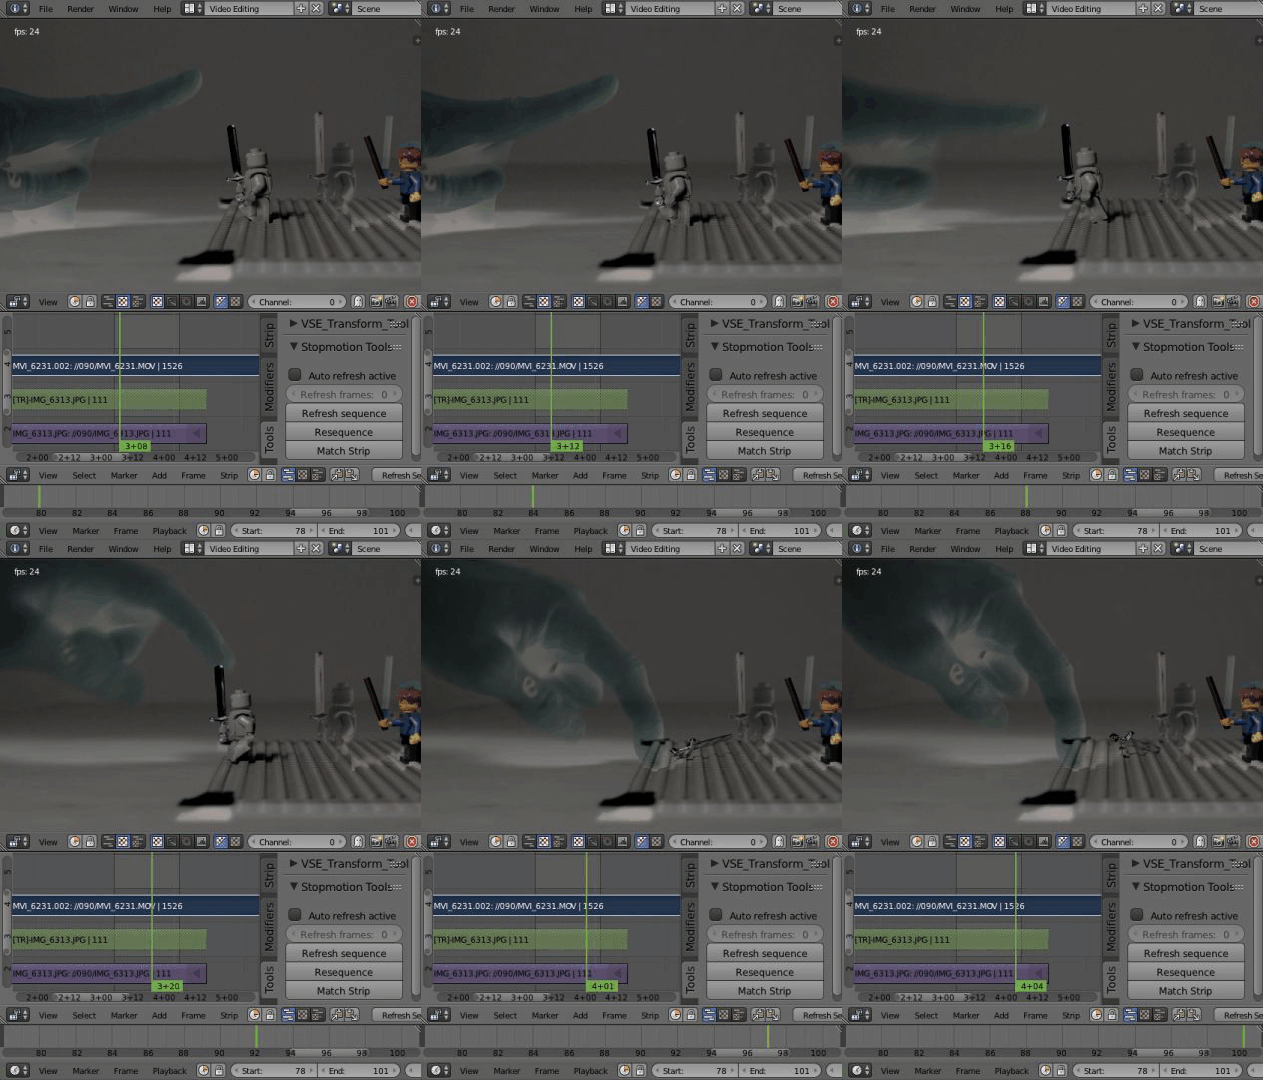
Everyone has their own workflow. The one I used in “The Wand” is probably unconventional, but worked well in this use case. Cannon EOS utility helped make live previews and remotely capture images. Then – the weird part – I wrote a python script for blender, traditionally a 3D modeling/animating program. The script would auto-refresh new frames into the video sequencer, as well as update the timeline length. This allowed me to see how the stopmotion was progressing while overlapping multiple videos or other separate stopmotion elements all right as I was working. Normally you would just have to rely on planning and hope the editing later lines up! A webcam was also used in some shots to view animation progress in a live view mode to prevent the DSLR camera from overheating, but the frames from the webcam were only ever for preview/motion checking purposes.
You can check out the Blender code here.
Bringing it all together
How do all of these steps fit together? Just like this! This breakdown shows the simultaneous components that make up a single shot.
