
Just as the final render has finished, I thought it may be fitting to create a walkthrough of my latest work. As another entry to my gallery of rendered cards, I created the above for a friend’s birthday as he was the one to first first introduced me to both of these games. Overwatch is an A-title, team multiplayer first person shooter. A fun game with good character design. Astroneer is an open universe sandbox, crafting, and exploration game. This indie title is only in its early access stages, but is gaining popularity.
Getting started
Though I often sketch out a plan ahead of time, I had a decent enough of an idea what I wanted. I decided to have a tether in the foreground with a wide view of the Astroneer landscape. In the background, I would place an appropriate character from Overwatch. I opted to build all the assets from scratch except for whichever character I wanted to include.
Quick asset building
Next, I focused on creating the minimum set of assets needed to pull off the shot. I ultimately decided this would consist of tethers and some basic vegetation. Creating the tether model itself is fairly straight forward, mostly cylinder with some beveling.
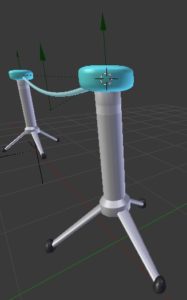
The grass was setup with rotation and variations of strand lengths. The tether was then packaged as a group for library linking, along with curves for appending which could be used to link one tether to another.
Finding the right model
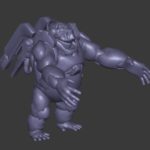 To make the game cross-over, I needed a character model from the Overwatch game.I didn’t want to spend all my time modeling a character from scratch since this was a one day, couple hour project. Instead, I searched online and found a couple packs. I give credit to this source where I get the models I ended up using. After little analysis I casually decided to use the Winston avatar as my subject, and so I get to work converting the materials to blender cycles and doing some minor geometry fixes.
I first need to fix up the geometry, by first joining all pieces of the model into one object and remove duplicate verts. Often game models like this have overlapping or duplicate verts to save on shading time, but it is a hassle for full renders like this. TO counteract the now smooth curves, I add back in a split modifier.
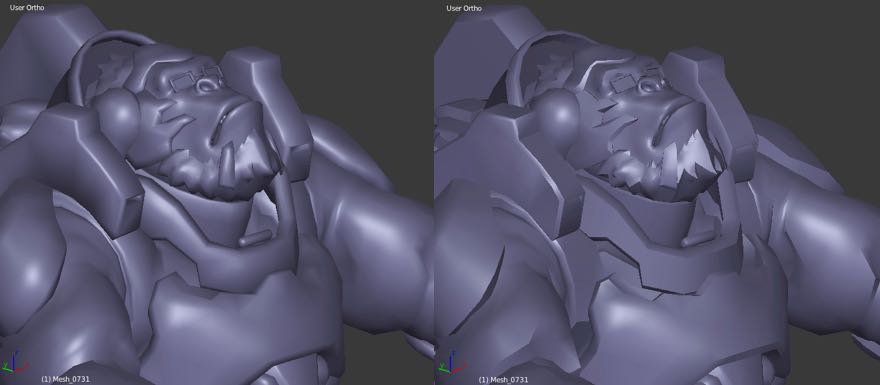
Left: duplicate vertices removed. Right: split modifier added
The final steps are to fix the materials and add a simple armature to the character. For materials, I convert the base Winston model materials into cycles materials using MCprep’s material prep button. I then split this into two materials: a glossy metal material for the armor, and a more diffused material for skin and non-metal parts of the character. The last step is adding in an armature, using auto-assign weights, and then doing some touch up weight painting to get enough of a posable character. It’s not perfect, but will meet the needs of the render.
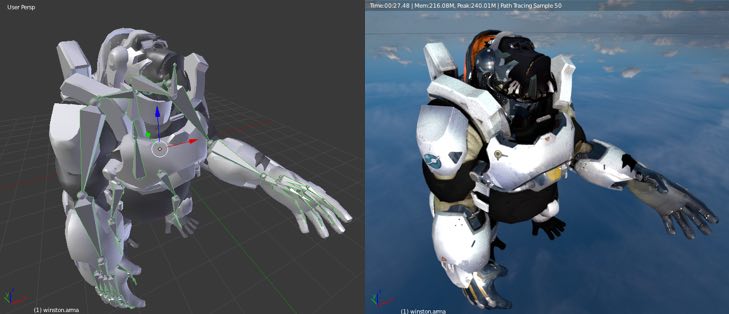
Left: you can see the armature bones highlighted in green for posing the character. Right: rendered view, with two active material types.
Building the Astroneer landscape
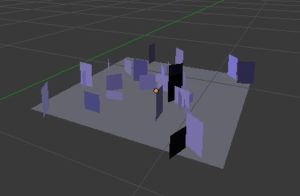
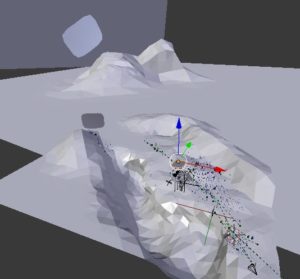
Now was the hard part – or at least, the part most important to get right. I wanted to really convey the feeling and awe of the Astroneer landscape. Which is hard, because the in-game graphics and atmosphere are already stunning. I start off by first roughly placing a few instances of my tether asset. Then, I plot down a simple plane into the scene. Using dynamic topography (dynotopo), I was able to convincingly recreate a geometric sculpted planet using a low vertex density. This makes large facets and noticeable triangles, replicating the landscape of the game.
Final render and compositing
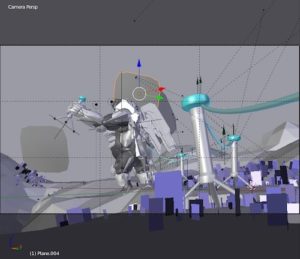
After settling upon a final topology, it was time to do final rendering and render layer setup. While doing the compositing for this image, it was important to capture the atmospheric effect conveyed in Astroneer. To do this, I used the Z-depth pass as an input into color correction nodes which would modify the color to fade into the sky the larger the distance. This works great, but has an interesting side effect – foreground out of focus objects had “fuzzy” z-depth passes.
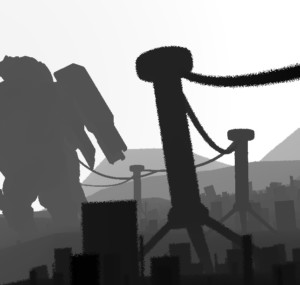
In the above render, you can see how the slightly out of focus tether doesn’t have clean edges. Unlike the final composited pass where the out of focus area appears smooth, the Z-depth appears spotty and almost under-sampled. Why? It is because a single pixel is only one depth or another, and so the out of focus areas flicker between using the foreground and background distances. While I normally would not like this result, it happens to be that really only the tether line is out of focus – and because of that, it creates a more unique and convincing glowing effect.
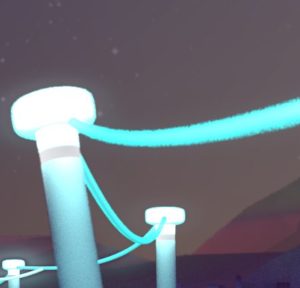
Final composited look of the tether lines, thanks to Z-depth limitations
The final step was to let it render. I set it to 5000 samples which is usually overkill, but in this case was still shy of a clean image due to the small and scattered lights. It rendered in about three and a half hours on a netbook sized laptop. If I wasn’t traveling at the time, I likely would have tried re-rendering for longer. Then again, I find the grainy texture of the sampling somewhat adds to the image.
[button]View in the Gallery[/button]
Timestamp figures: The project folder was first created at 10:01pm, and the final render was started at 1:08am the same day, and the 5000 sample render took 3h 25m